EduCtrl is a feature-rich cloud-based software to manage all aspects of Overseas Education Consultancy Business, Training/Coaching Institutions.
+91-924-213-7092
Give us a call
info@eductrl.com
Drop us email
Managing Inquiries from Facebook Lead Ads
Learn how to capture, review, and manage leads from Facebook Lead Ads within EduCtrl CRM for streamlined follow-up and improved conversion rates.
Prerequisites
- Admin access to EduCtrl CRM
- Active Facebook Lead Ad campaigns
- EduCtrl CRM configured in Zapier with API integration enabled
A. Connecting Facebook Lead Ads to EduCtrl (via Zapier)
- Log in to Zapier with your account.
- Create a New Zap.
- Select Facebook Lead Ads as the Trigger app.
- Choose your Facebook Page and the specific Lead Form.
- Set the Action app to EduCtrl CRM with the Create Lead action.
- Authenticate EduCtrl using your API key (found under Settings > Developer/API Settings).
- Map the Facebook form fields (e.g., name, email, phone) to the corresponding EduCtrl lead fields.
- Test the Zap to ensure proper data transfer.
- Enable the Zap to start automatic lead capture.
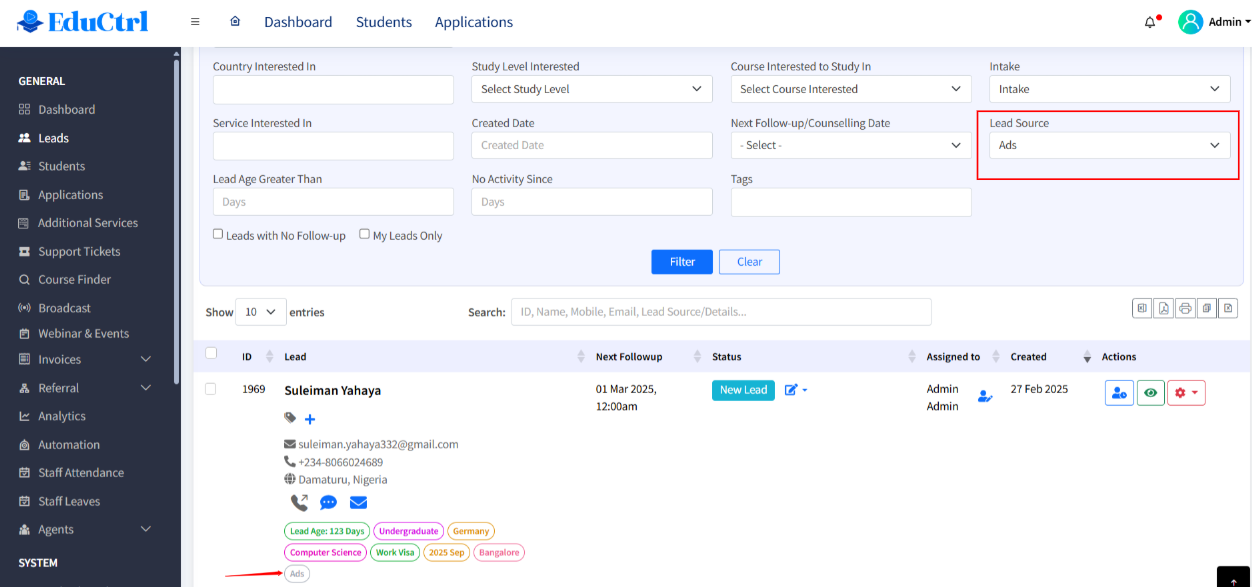
B. Reviewing Facebook Leads in EduCtrl
- Log in to EduCtrl CRM.
- Navigate to the Leads module.
- Use the Source filter to select “Facebook Lead Ads.”
Review incoming leads, noting submission time, campaign, and mapped fields.
C. Assigning and Following Up on Facebook Leads
- Use Bulk or Single Reassignment options to distribute leads among your team.
- Apply Lead Assignment Rules based on campaign, geography, etc.
- Use Zapier or Internal Assignment Rules to automate staff allocation.
Tags:
Facebook Lead Ads
Meta Lead Ads
Instagram leads
Zapier
connect Zapier
Meta leads
lead capture
capture leads
API key
← Back
